bootstrap은 웹 디자인을 하기 힘든 BackEnd 개발자에게 간편하게 FrontEnd 작업을 할 수 있도록 만들어둔 오픈소스 프로젝트이다.
이 BootStrap을 사용하여 question_list.html과 question_detail.html 파일을 꾸며보자
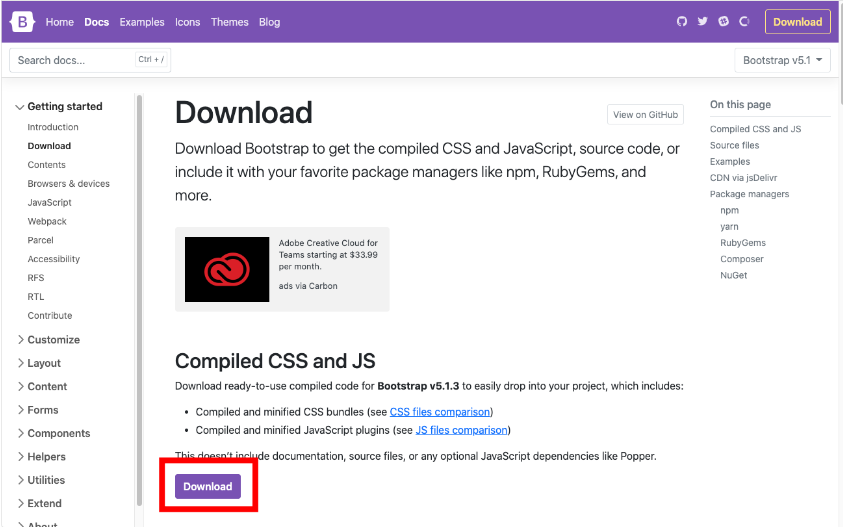
1. CSS 설치 후 static directory에 넣어주기.
CSS 설치 사이트 를 통해 CSS와 JS파일이 합쳐져 있는 zip파일을 설치한다.
설치 후 압축을 풀면
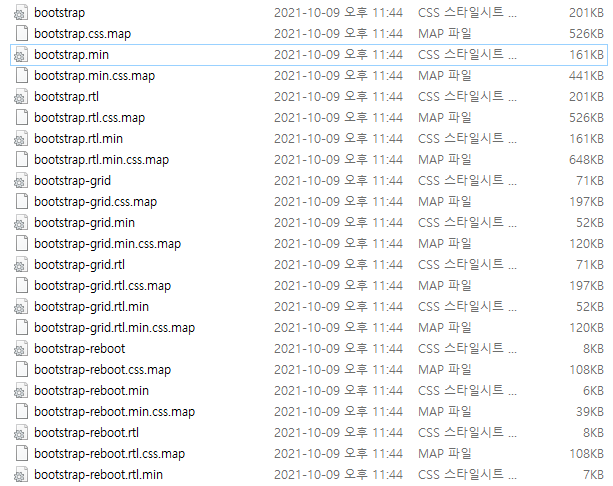
여러개의 파일이 나오는데, “bootstrap.min.css”파일을 복사하여
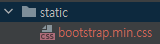
static directory에 넣어준다.
2. BootStrap 적용
설치한 부트스트랩을 적용해보자.
<link rel="stylesheet" type="text/css" th:href="@{/bootstrap.min.css}">
style.css를 link해준 것 처럼 bootstrap.css 파일도 연결시켜준다.
// question_list.html
<link rel="stylesheet" type="text/css" th:href="@{/bootstrap.min.css}">
<div class="container my-3">
    <table class="table">
        <thead class="table-dark">
            <tr>
                <th>번호</th>
                <th>제목</th>
                <th>작성일시</th>
            </tr>
        </thead>
        <tbody>
            <tr th:each="question, loop : ${questionList}">
                <td th:text="${loop.count}"></td>
                <td>
                    <a th:href="@{|/question/detail/${question.id}|}" th:text="${question.subject}"></a>
                </td>
                <td th:text="${#temporals.format(question.createDate, 'yyyy-MM-dd HH:mm')}"></td>
            </tr>
        </tbody>
    </table>
</div>
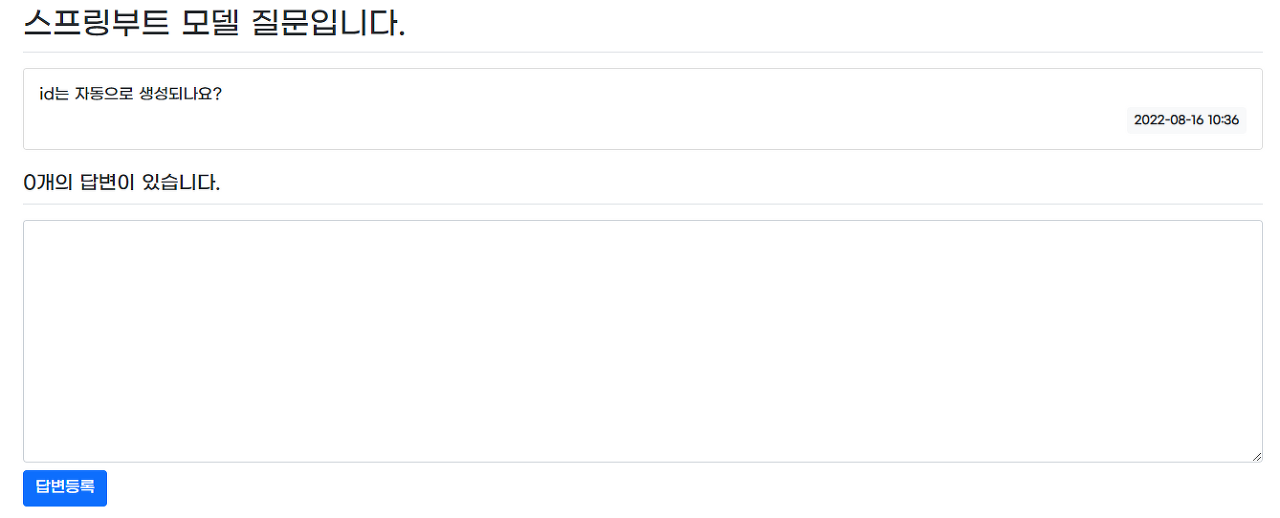
// qeustion_detail.html
<link rel="stylesheet" type="text/css" th:href="@{/bootstrap.min.css}">
<div class="container my-3">
    <h2 class="border-bottom py-2" th:text="${question.subject}"></h2>
    <div class="card my-3">
        <div class="card-body">
            <div class="card-text" style="white-space: pre-line;" th:text="${question.content}"></div>
            <div class="d-flex justify-content-end">
                <div class="badge bg-light text-dark p-2 text-start">
                    <div th:text="${#temporals.format(question.createDate, 'yyyy-MM-dd HH:mm')}"></div>
                </div>
            </div>
        </div>
    </div>
    <h5 class="border-bottom my-3 py-2"
        th:text="|${#lists.size(question.answerList)}개의 답변이 있습니다.|"></h5>
    <div class="card my-3" th:each="answer : ${question.answerList}">
        <div class="card-body">
            <div class="card-text" style="white-space: pre-line;" th:text="${answer.content}"></div>
            <div class="d-flex justify-content-end">
                <div class="badge bg-light text-dark p-2 text-start">
                    <div th:text="${#temporals.format(answer.createDate, 'yyyy-MM-dd HH:mm')}"></div>
                </div>
            </div>
        </div>
    </div>
    <form th:action="@{|/answer/create/${question.id}|}" method="post" class="my-3">
        <textarea name="content" id="content" rows="10" class="form-control"></textarea>
        <input type="submit" value="답변등록" class="btn btn-primary my-2">
    </form>
</div>
style="white-space: pre-line;" 을 적용하면 모든 \n이 모두 다 먹는다.
++ bootstrap의 container를 통해 반응형으로 너무 넓어지지 않도록 막아주고 화면이 줄어들면 적당한 크기로 줄여준다.
결과화면
- question_list

- question_detail
++ 글씨체 적용해보기
style.css에 추가하여 font를 바꿔보자.
눈누에 있는 Gmarket Sans를 사용한다.
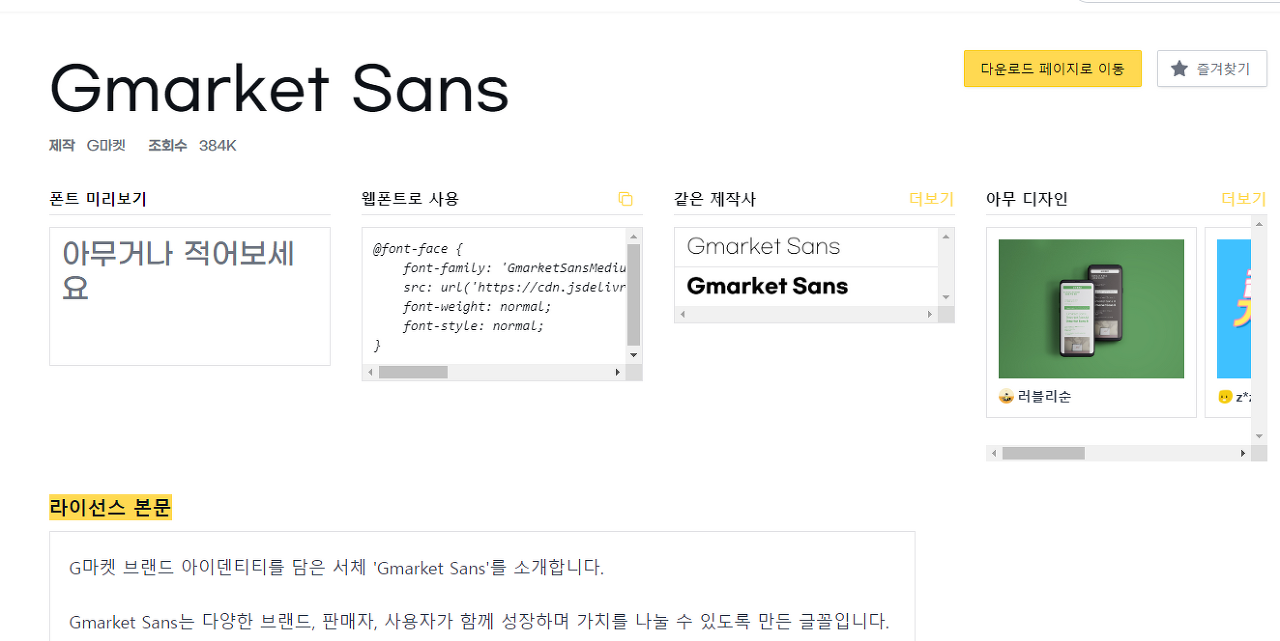
웹 폰트로 사용에 적혀져 있는 code를 가져와 style.css에 입력한다.
// style.css
@font-face {
    font-family: 'GmarketSansMedium';
    src: url('<https://cdn.jsdelivr.net/gh/projectnoonnu/noonfonts_2001@1.1/GmarketSansMedium.woff>') format('woff');
    font-weight: normal;
    font-style: normal;
}

html > body {
    font-family: "GmarketSansMedium";
}
그 후 html 파일에 bootstrap.min.css를 적용한 것 처럼 style.css도 적용한다.
<link rel="stylesheet" type="text/css" th:href="@{/style.css}">
그러면 적용이 완료된다!
++ bootstrap 적용 시 파일을 다운받지 않고 링크를 사용해 가져올 수 있다!
를 사용해 적용할 수 있다.
'Spring' 카테고리의 다른 글
| [Spring]Spring 시작해보기(12) - 질문 등록 버튼 및 폼 생성 (0) | 2022.08.16 |
|---|---|
| [Spring]Spring 시작해보기(11) - Template 상속 (0) | 2022.08.16 |
| [Spring]Spring 시작해보기(9) - 답글 달기 form 생성 및 출력 (0) | 2022.08.16 |
| [Spring]Spring 시작해보기(8) - 상세 페이지 만들기 (0) | 2022.08.16 |
| [Spring]Spring 시작해보기(7) - Service class 생성 (0) | 2022.08.16 |


